When you find yourself running out of SATA (Serial Advanced Technology Attachment) ports on your motherboard, an expansion card can be a lifesaver. Whether you are looking to add more storage, such as hard drives or SSDs, installing an expansion card for additional SATA ports is a straightforward process. Prepare yourself with this detailed guide.
Tools and Materials Needed
- Expansion card for SATA ports
- Phillips screwdriver
- Antistatic wrist strap (optional but recommended)
Steps to Install an Expansion Card
1. Choose the Right Expansion Card
Before you start the installation, selecting the correct expansion card is crucial. Ideally, you want a card that is compatible with your motherboard as well as meets your performance needs.
2. Power Down and Unplug
Ensure your computer is completely powered down and unplugged from the electrical outlet to avoid any risk of electric shock.
3. Open the Computer Case
Using your Phillips screwdriver, remove the screws that hold the side panel of your computer case in place. Store the screws safely as you will need them later to secure the panel back.
4. Ground Yourself
Electrostatic discharge (ESD) can damage computer components. Use an antistatic wrist strap or frequently touch a grounded metal object to prevent ESD.
5. Locate the PCIe Slot
Find an available PCIe (Peripheral Component Interconnect Express) slot on your motherboard. Most SATA expansion cards will fit into any PCIe slot, but it’s best to check your motherboard’s manual for specifics.
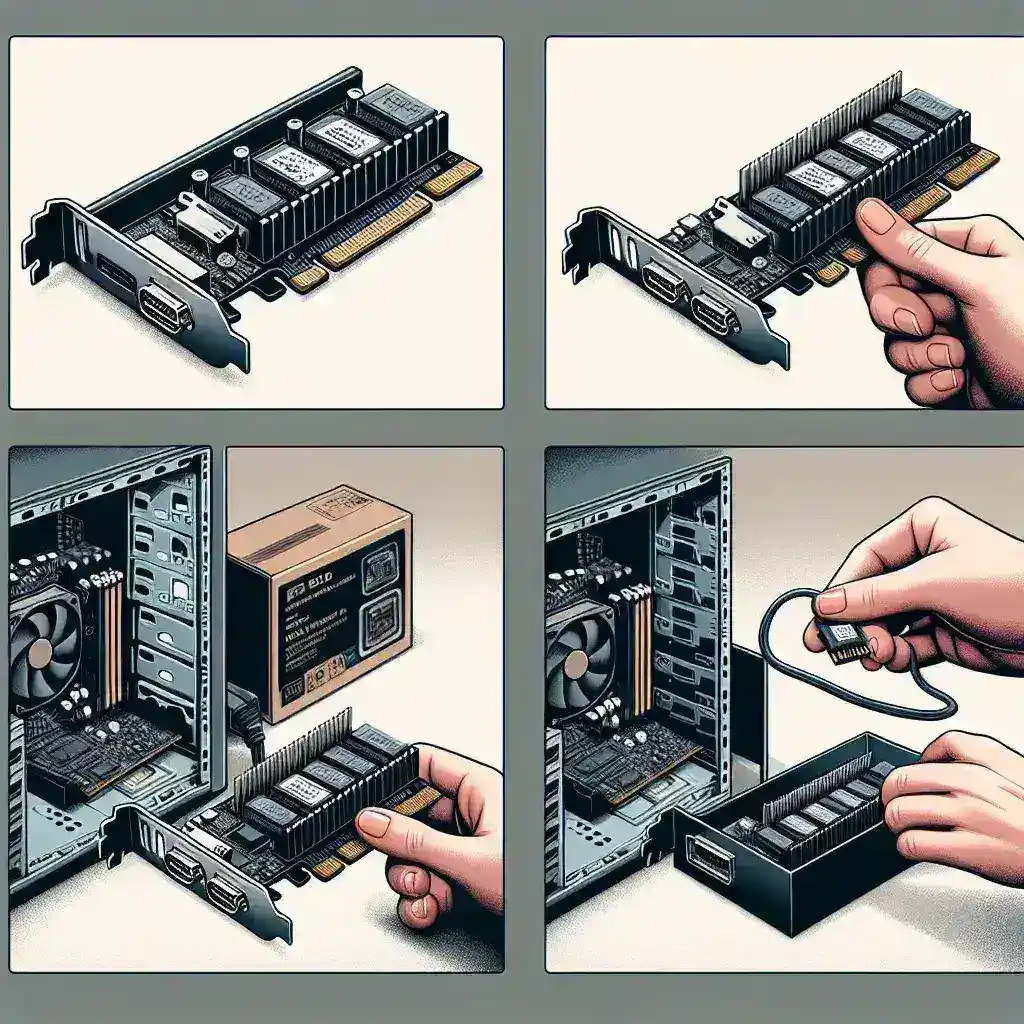
6. Insert the Expansion Card
Carefully align the expansion card with the PCIe slot and firmly insert it until it is seated properly. The metal bracket of the card should be flush with your computer case’s back panel.
7. Secure the Card
Using the screws provided with your computer case, secure the expansion card to the rear of the case.
8. Connect SATA Cables
Connect your new SATA devices to the expansion card using SATA cables. Ensure that each connection is firm.
9. Close the Case and Plug In
Replace the side panel of your computer case, secure it with the screws, and plug your computer back into the power source.
10. Power On and Install Drivers
Power on your computer and install the appropriate drivers for your new expansion card. The drivers are usually available on the manufacturer’s website or included on a CD-ROM with the card. Follow the prompts to complete the installation.
11. Verify Installation
After the drivers are installed, verify that your new SATA ports are functioning correctly. You can check this in your system BIOS or within your operating system’s disk management tool.
Troubleshooting Tips
Sometimes, issues may arise after installation. Here are some common troubleshooting tips:
- Ensure the expansion card is properly seated in the PCIe slot.
- Double-check that all cables are connected securely.
- Update your motherboard’s BIOS if the expansion card is not recognized.
- Ensure that the drivers are installed correctly.
- Test the card in a different PCIe slot if the first one does not work.
Conclusion
Installing an expansion card for additional SATA ports is a manageable task even for those new to computer hardware. By following these steps and taking necessary precautions, you can enhance your storage capabilities without any hassle. Happy upgrading!
Leave a Reply