Introduction
A Demilitarized Zone (DMZ) is a crucial component in network security, especially for organizations and individuals who host services accessible to the public, such as web servers or FTP servers. Setting up a DMZ on your router can help to isolate and protect your internal network from external threats. This guide will walk you through the process of setting up a DMZ on your router.
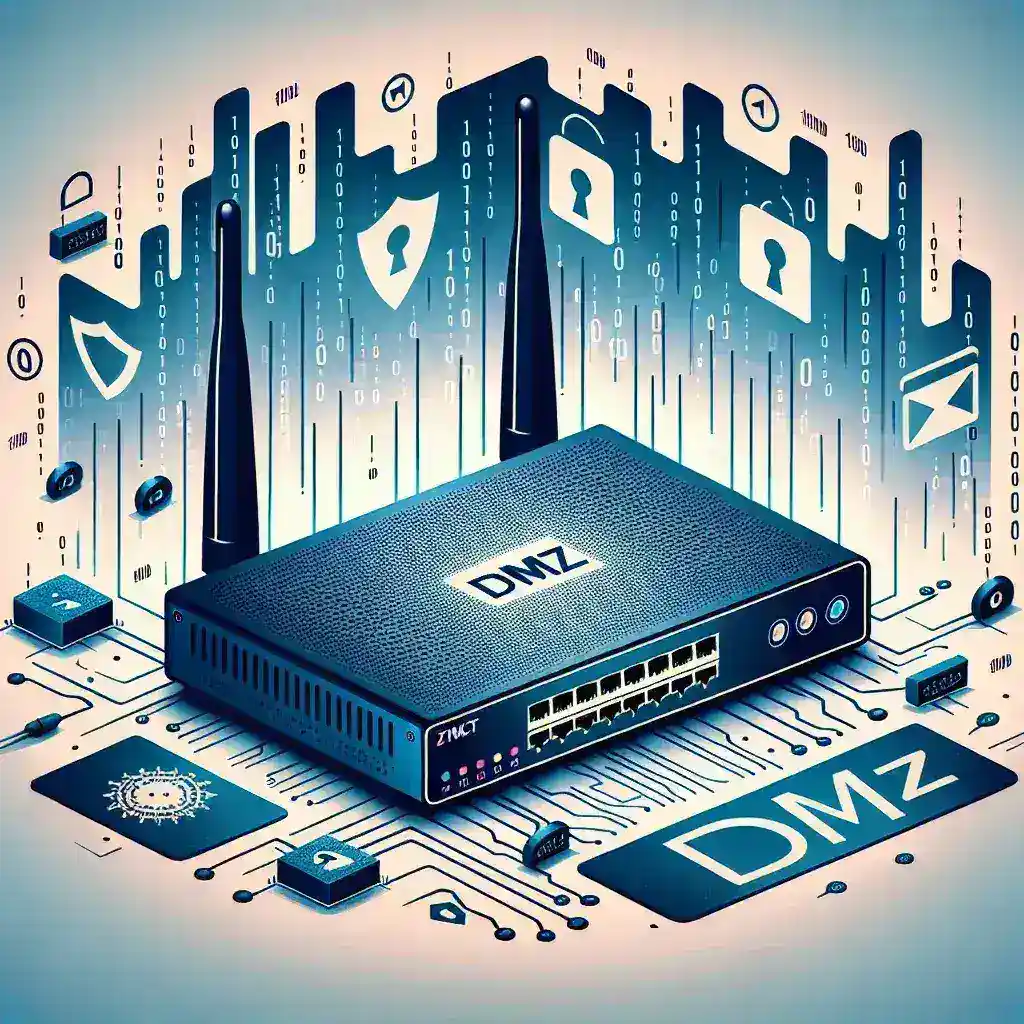
What is a DMZ?
A DMZ, or Demilitarized Zone, is a physical or logical subnetwork that contains and exposes an organization’s external-facing services to an untrusted network, usually the internet. The purpose of a DMZ is to add an additional layer of security to an organization’s local area network (LAN); an external network node can access only what is exposed in the DMZ, while the rest of the organization’s network is protected behind a firewall.
Benefits of Setting Up a DMZ
- Enhanced Security: By isolating public services from the internal network, you reduce the risk of internal network exploitation in case the public service is compromised.
- Network Efficiency: Direct access to public services can be managed more effectively without affecting internal network performance.
- Controlled Access: You have more granular control over who can access specific services without compromising the internal network.
Step-by-Step Guide: How to Set Up a DMZ on Your Router
1. Accessing Your Router’s Admin Console
- Open a web browser and type in your router’s IP address. The default IP address is often 192.168.0.1 or 192.168.1.1.
- Enter your login credentials. If you haven’t changed them, they are usually default (e.g., admin/admin or admin/password).
2. Navigating to the DMZ Settings
- Once logged in, navigate to the ‘Security’ or ‘Firewall’ settings. This can vary depending on your router’s brand and model.
- Look for a section labeled ‘DMZ’ or ‘Demilitarized Zone.’
3. Configuring the DMZ
- Enable the DMZ option.
- Enter the IP address of the device you want to place in the DMZ. Make sure this device has a static IP to avoid conflicts.
- Save the settings and reboot your router if necessary.
4. Testing Your DMZ Setup
Once the router reboots, it’s crucial to test the DMZ setup:
- Security Scan: Perform a security scan on the IP address of the DMZ device to ensure it’s isolated from the internal network.
- Functionality Test: Access the public service to confirm it is operating correctly without impacting internal network performance.
Precautionary Measures
- Use Strong Passwords: Always set strong, unique passwords for all devices in the DMZ.
- Regularly Update Firmware: Keep your router and public-facing services updated with the latest firmware and patches.
- Monitor Traffic: Regularly monitor the traffic and logs to detect any unusual activities.
Common Issues and Troubleshooting
1. Device Not Accessible
If the device in the DMZ is not accessible, ensure that the correct IP address is entered and that the device is reachable from the internal network.
2. Security Concerns
Regularly perform security audits to ensure that your DMZ device remains isolated and secure.
3. No Internet Connection
If the DMZ device loses internet access, check your router settings to ensure the DMZ is configured correctly.
Conclusion
Setting up a DMZ on your router is an effective way to secure your internal network while still allowing public access to specific services. By following this guide, you can ensure that your public-facing services are isolated and your internal network remains protected. Always remember to keep security as a priority and perform regular checks to maintain the integrity of your network.
Leave a Reply