Introduction
USB 3.0 technology offers faster data transfer rates and better performance compared to its predecessors. Upgrading your desktop computer with a USB 3.0 adapter card can significantly enhance your system's capabilities. In this guide, we will walk you through the steps to install a USB 3.0 adapter card.
Tools and Materials
Before you begin, it's essential to gather all the necessary tools and materials:
- USB 3.0 adapter card
- Phillips head screwdriver
- Anti-static wrist strap (optional but recommended)
- User manual for your computer
Step-by-Step Guide
Follow these steps to install your USB 3.0 adapter card:
Step 1: Power Down and Unplug Your PC
Before you start working on your computer, ensure it is powered down and unplugged from the electrical outlet. This step is crucial for your safety and to prevent any damage to your components.
Step 2: Open the Computer Case
Use your Phillips head screwdriver to remove the screws that secure the side panel of your computer case. Once removed, carefully slide off the panel to expose the internal components.
Step 3: Ground Yourself
Static electricity can damage delicate computer parts. To prevent this, use an anti-static wrist strap if you have one. Alternatively, touch a metal part of your computer case to discharge any static electricity.
Step 4: Locate an Available PCI Express Slot
Find an available PCI Express slot on your motherboard. These slots are usually labeled and may vary in size. Refer to your computer or motherboard manual for the exact location.
Step 5: Remove the Slot Cover
If the slot you choose has a cover, remove it by unscrewing or snapping it off. Keep the screws as you will need them to secure the adapter card.
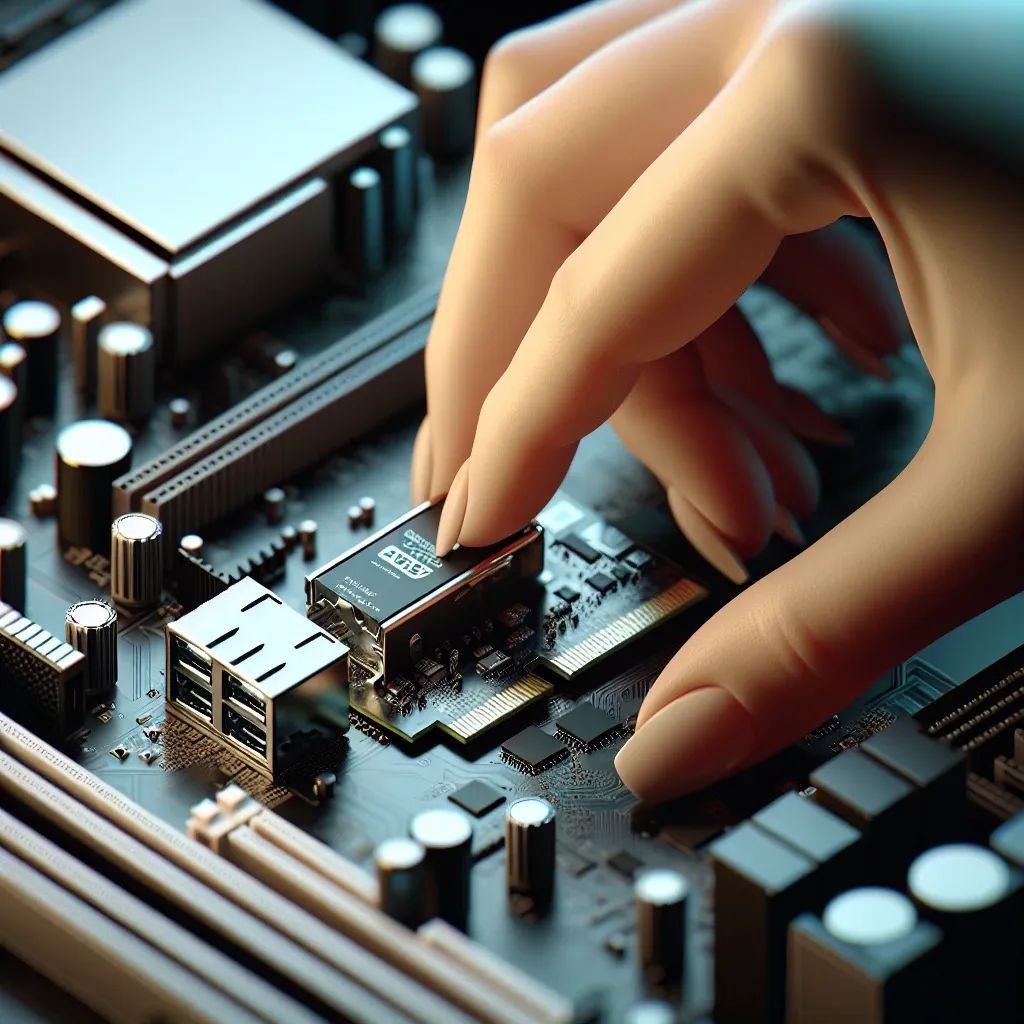
Step 6: Insert the USB 3.0 Adapter Card
Align the USB 3.0 adapter card with the PCI Express slot and gently insert it. Press down firmly but carefully until the card is securely seated. You should hear or feel a slight click when it’s in place.
Step 7: Secure the Card
Use the screws you saved from the slot cover (or new ones provided with the card) to secure the USB 3.0 adapter card to the case.
Step 8: Close the Computer Case
Replace the side panel of your computer case and secure it with the screws you removed earlier.
Step 9: Power Up and Install Drivers
Plug your computer back into the electrical outlet and power it on. Once it boots up, your operating system should recognize the new hardware. You may need to install drivers for the USB 3.0 adapter card, which can usually be found on the manufacturer's website or provided installation CD.
Troubleshooting Tips
If you encounter any issues during the installation, consider these troubleshooting tips:
- Ensure that the card is properly seated in the PCI Express slot.
- Check for any loose connections or wires that may have been disturbed during installation.
- Verify that you have installed the correct drivers for your operating system.
- Consult the adapter card's user manual for additional troubleshooting steps.
Benefits of USB 3.0
Upgrading to USB 3.0 offers several advantages:
- Faster data transfer speeds (up to 5 Gbps)
- Improved power efficiency
- Better performance for external storage devices
- Backward compatibility with USB 2.0 and USB 1.1 devices
Conclusion
Installing a USB 3.0 adapter card in your desktop computer is a straightforward process that can greatly enhance your system’s performance and capabilities. By following the steps outlined in this guide, you can successfully upgrade your computer and enjoy the benefits of USB 3.0 technology.
Leave a Reply